Installation Guide For ADCME
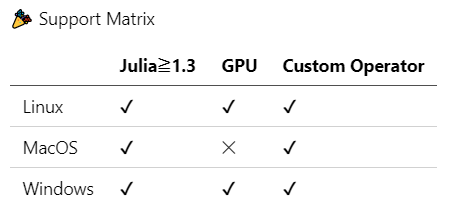
ADCME is tested and supported on Linux, macOS, and Windows systems. We have separate instructions for each operating system.
You can also use the Stanford Farmshare computing environment. ssh to rice.stanford.edu using your SUNetID. Use the Linux installation guide for this.
Please see the first three videos on Canvas for a step-by-step installation guide.
ADCME installation instructions
If you have some earlier version of Julia already installed with a version at least 1.0, it should work, and you can skip the steps below. Go straight to step 2 “Install Project Dependencies.” For Windows platforms, you will also need Microsoft Visual Studio 2017 15 (see below for instructions).
1. Install Julia
We will first install Julia binary and then configure the binary path so you can have easy access to Julia by typing julia in a terminal. But strictly speaking, configuring the path is unnecessary if you install the latest version (v0.7.0).
For Linux
Video with step-by-step instructions
See below for instructions on rice.
Download Julia 1.3, 1.4, or 1.5 from the official website. Uncompress the tarball to any directory you want. There is a directory bin inside the Julia directory you just uncompressed. Add the absolute path of the bin directory to your PATH environment variable.
Suppose the Julia bin path is <LocalJuliaPath> (e.g., ~/julia-1.4.1/bin), execute the following command in your terminal:
echo 'export PATH=<LocalJuliaPath>:$PATH' >> ~/.bashrc
In case you use another shell (e.g., zsh) other than bash, you need to replace ~/.bashrc in the command with the corresponding startup file. You can use echo $SHELL to check which shell you are using.
For rice, Julia is already installed. Just run
$ module load julia/1.3.1
This will load Julia 1.3.1.
The installation is very slow on rice. Please be prepared to wait for a long time. The installation is on the order of one hour because the file system on rice is very slow. Once everything is installed, running the code is relatively fast.
For macOS
Video with step-by-step instructions
Due to an incompatibility issue with Julia 1.4 and TensorFlow 1.x, please download and install Julia 1.3 or 1.5 from the official website.
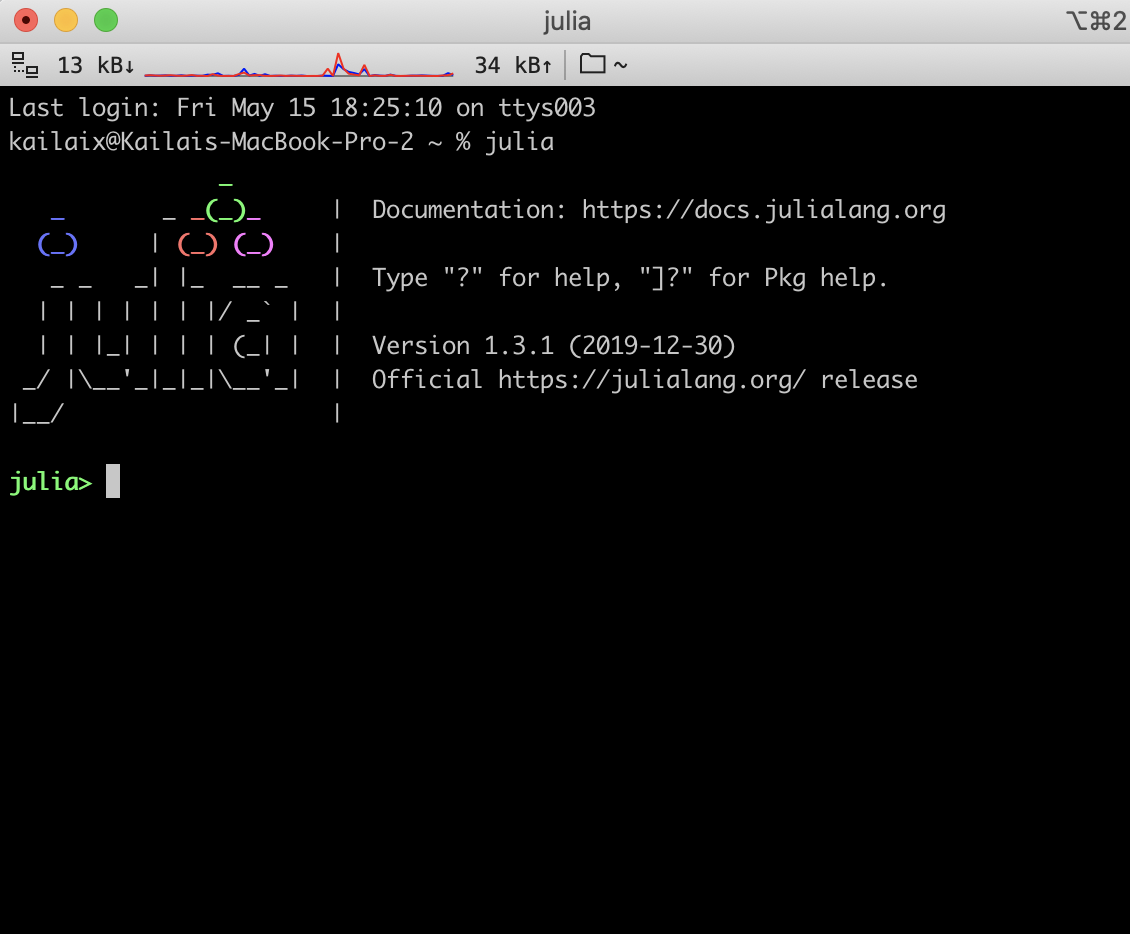
After installation, Julia-1.3 or Julia-1.5 will appear in your Application folder. Open the Julia application, and you will see the Julia prompt
julia> Sys.BINDIR
Example output:
"/Applications/Julia-1.3.app/Contents/Resources/julia/bin"
Add this path to your PATH environment variable (make sure to scroll to the right to copy the entire line below)
echo 'export PATH=/Applications/Julia-1.3.app/Contents/Resources/julia/bin:$PATH' >> ~/.bash_profile
On the most recent version of macOS, you need to replace ~/.bash_profile by ~/.zshrc. If you are unsure, type ls ~/.zshrc. If the file exists, this is the one you should use.
For Windows
Video with step-by-step instructions
If you have a Windows OS, you will need to install Microsoft Visual Studio 2017 15. This software provides the necessary compilers for custom operators. See Windows Installation for a detailed installation instruction.
For Mac and Linux users, restart your shell to apply the new settings. Type julia in your terminal, and you should see a Julia prompt (Julia REPL).
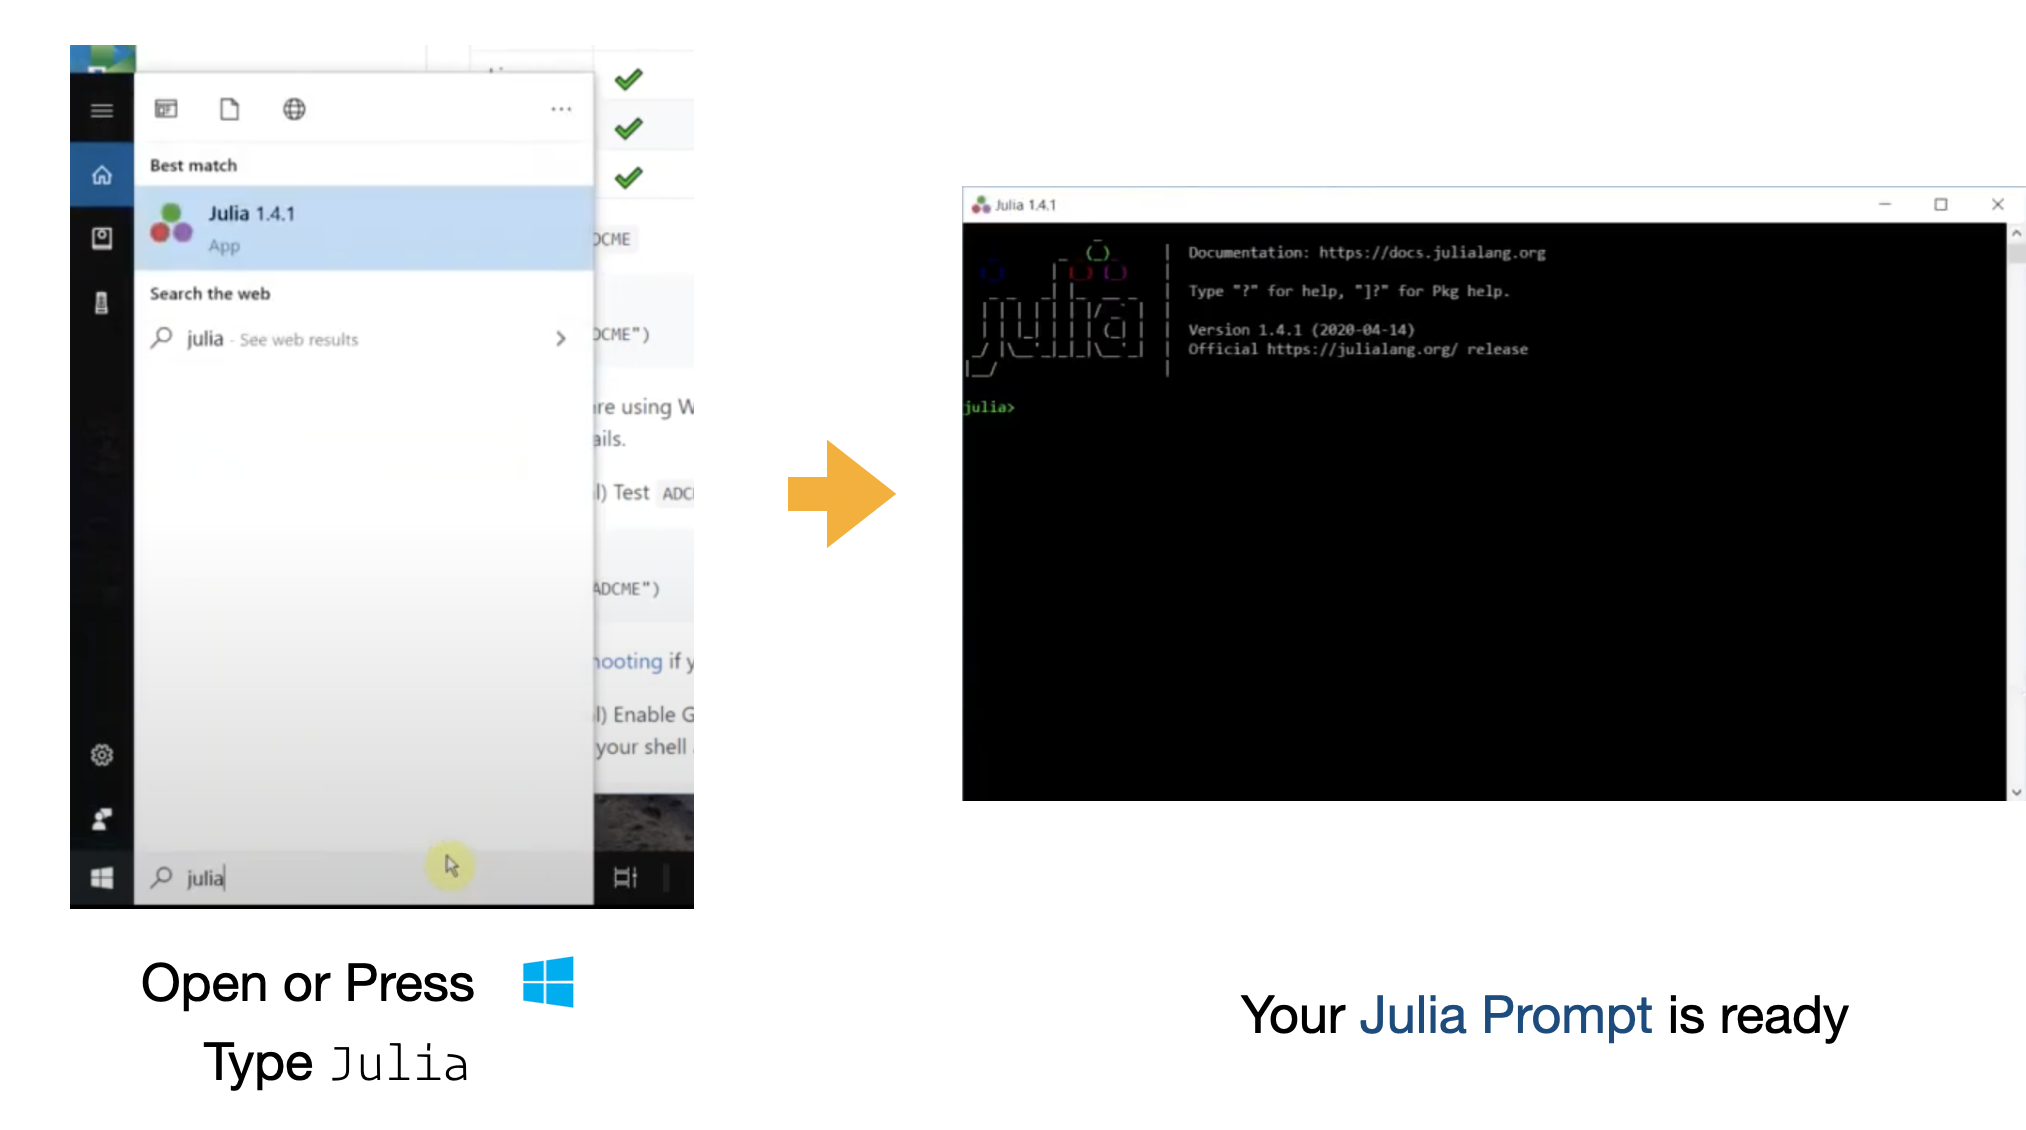
For Windows users, you can press the Windows button or click the Windows icon (usually located in the lower left of your screen) and type julia. Open the Desktop App Julia and you will see a Julia prompt.
2. Install the Project Dependencies
This homework requires installing some Julia packages. Start julia
$ julia
and type
julia> ]
(@v1.4) pkg> add ADCME PyCall PyPlot
3. Start using ADCME
Now you can start using ADCME (ignore the warnings; they will disappear next time)
julia> using ADCME
julia> a = constant(ones(5,5))
julia> b = a * ones(5)
julia> sess = Session(); init(sess)
julia> run(sess, b)
Expected output:
5-element Array{Float64,1}:
 5.0
 5.0
 5.0
 5.0
 5.0
4. Test the Custom Operator Support
In the homework, we will use custom operators. To test whether your installation works for custom operators, try
julia> using ADCME
julia> ADCME.precompile()
If you encounter any compilation issue, please report it on Slack.
Compile the Custom Operator for 2D Case
The final step explains how to compile the custom operator for the 2D Case.
In 2DCase, you have two source files: HeatEquation.h and HeatEquation.cpp. You need to compile them into a shared library, which you can use for the inverse modeling. To do so, go into 2DCase directory and open a Julia prompt in a terminal.
julia> using ADCME
julia> change_directory("cpp/build")
julia> ADCME.cmake()
julia> ADCME.make()
The command change_directory("cpp/build") makes a directory cpp/build if it does not exist and changes the current path to cpp/build. The command ADCME.cmake() will run commands in the file CMakeLists.txt and create the appropriate Makefile. Then the command ADCME.make() will compile the source code HeatEquation.h and HeatEquation.cpp to create the shared library.
After running this, you should see that there is a libHeatEquation.so (Linux), libHeatEquation.dylib (macOS), or HeatEquation.dll (Windows) in your build directory.
Run the Case2D/example.jl file to check if the shared library works. You may see some warning messages. If you see the following output at the end:
run(sess, err) = 2.9971950130484027e-6
Congratulations! `example.jl` completed successfully
the code ran successfully.
If you run the code within the Julia REPL, you will see a figure. For this, start julia in the directory Case2D, which contains example.jl:
$ cd Case2D
$ julia
Then type:
julia> include("example.jl")
You will see the same output as above run(sess, err) = 2.9971950130484027e-6 along with this figure:
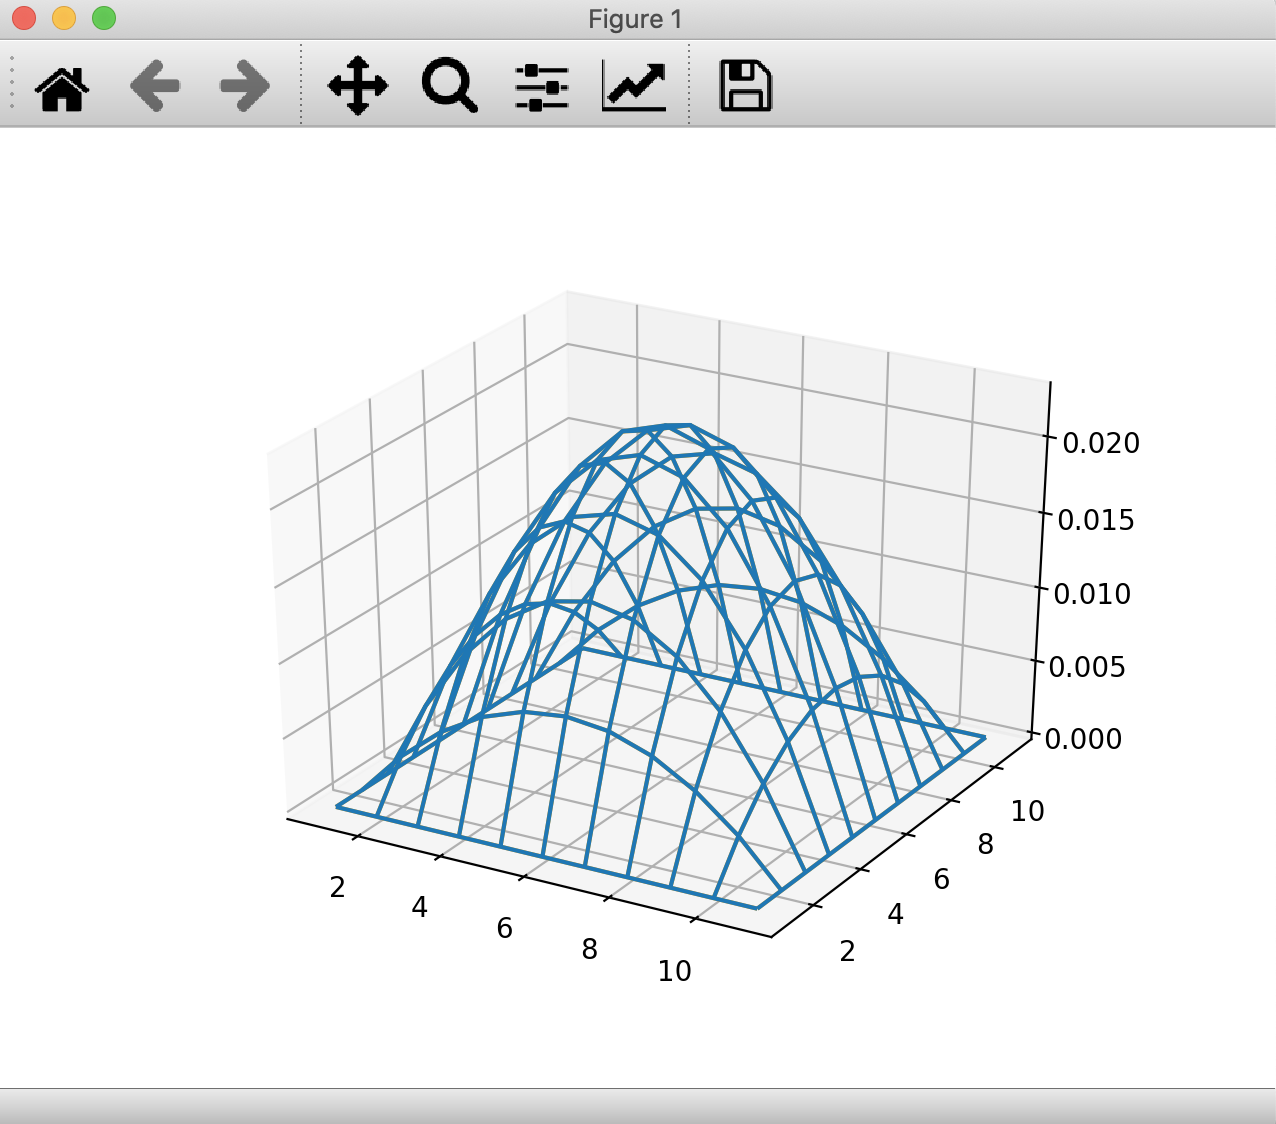
You can rotate the figure in 3D using your mouse.
On rice, you will not see the figure because you are connected remotely through ssh and you cannot see graphic windows, but you won’t need this for the homework.
Troubleshooting
Here are some common problems you may encounter on a Mac computer:
- You may encounter the following warning when you run
using PyPlot.
PyPlot is using tkagg backend, which is known to cause crashes on macOS (#410); use the MPLBACKEND environment variable to request a different backend.
To fix this problem, add the following line immediately after using PyPlot
using PyPlot
matplotlib.use("agg")
The images may not show up but you can save the figure (savefig("filename.png")).
- Your Julia program may crash when you run
BFGS!and show the following error message.
Error #15: Initializing libiomp5.dylib, but found libiomp5.dylib already initialized OMP: Hint: This means that multiple copies of the OpenMP runtime have been linked into the program. That is dangerous, since it can degrade performance or cause incorrect results. The best thing to do is to ensure that only a single OpenMP runtime is linked into the process, e.g. by avoiding static linking of the OpenMP runtime in any library. As an unsafe, unsupported, undocumented workaround you can set the environment variable KMP_DUPLICATE_LIB_OK=TRUE to allow the program to continue to execute, but that may cause crashes or silently produce incorrect results. For more information, please see http://www.intel.com/software/products/support/.
This is because matplotlib (called by PyPlot) and scipy (called by BFGS!) simultaneously access OpenMP libraries in an unsafe way. To fix this problem, add the following line in the very beginning of your script (or run the command right after you enter a Julia prompt)
ENV["KMP_DUPLICATE_LIB_OK"] = true
- You may see the following error message when you run
ADCME.precompile():
The C compiler
 "/Users/<YourUsername>/.julia/adcme/bin/clang"
is not able to compile a simple test program.
It fails with the following output: ...
This is because your developer tools are not the one required by ADCME. To solve this problem, run the following commands in your terminal:
rm /Users/<YourUsername>/.julia/adcme/bin/clang
rm /Users/<YourUsername>/.julia/adcme/bin/clang++
ln -s /usr/bin/clang /Users/<YourUsername>/.julia/adcme/bin/clang
ln -s /usr/bin/clang++ /Users/<YourUsername>/.julia/adcme/bin/clang++
Here <YourUsername> is your user name.